What Type of Workout(s) Should I Be Doing?


We humans always feel the need to complicate things. Never is this more apparent than when it comes to trying to lose weight and get in shape.
People are always looking for that perfect workout. That perfect diet. One day it’s HIIT., One day it’s barre, One day it’s yoga, etc., etc. If this sounds like you then let’s stop for a second and take a deep breath in through your nose. Hold it for a count of 4 seconds. Then slowly exhale through your mouth for 4 seconds. OK, feel better now?
Here is the deal. I am going to break this down as simply as possible. At the end of the day, unless you are training for a specific sporting event, race, etc, it isn’t any more complicated than what I am about to tell you.
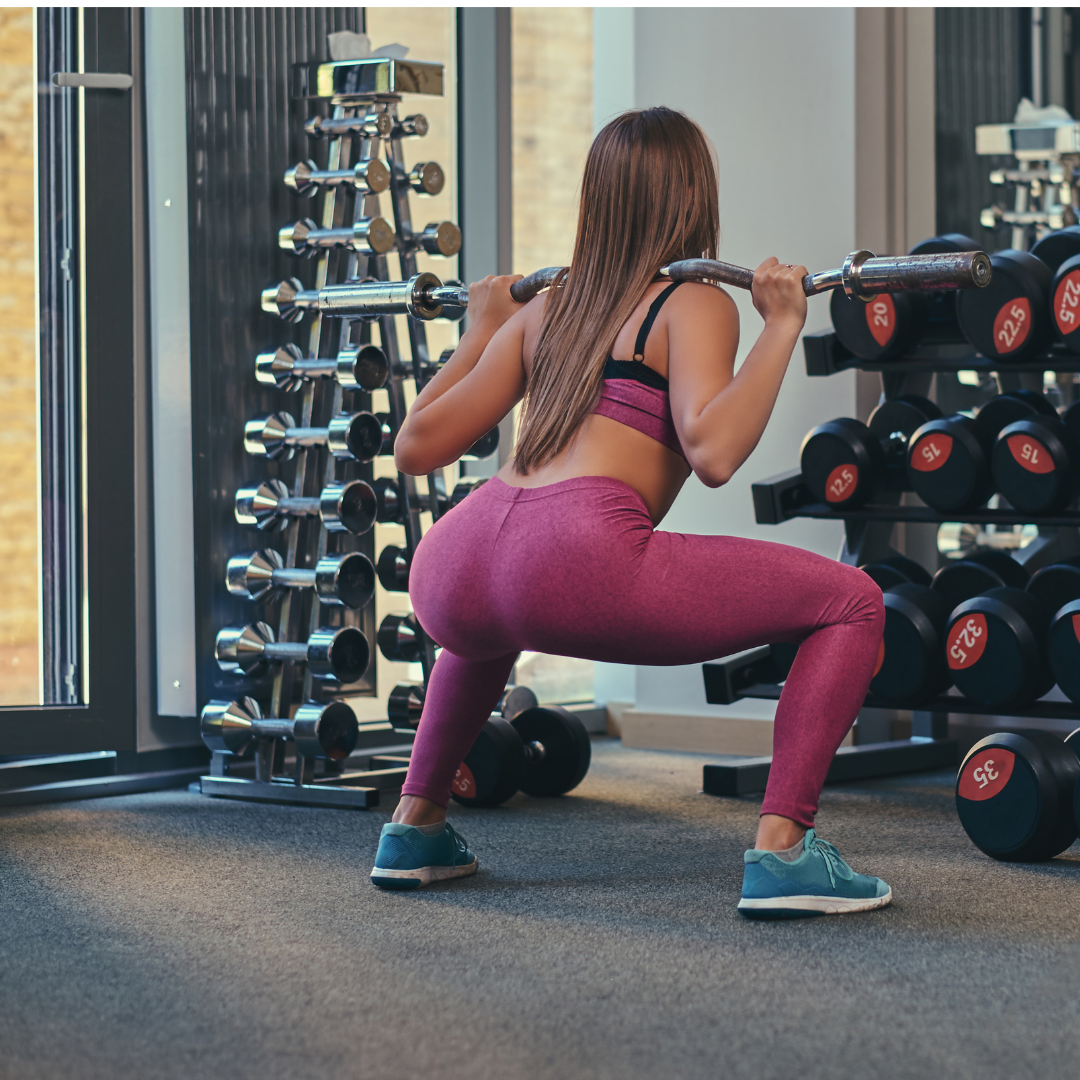
If you are currently only doing “cardiovascular” training such as running, cycling, etc. then add some weight training and yoga/mobility/flexibility training 2-3 times per week for 30-60 minutes.
If you are a meathead currently clanging and banging the weights away at the gym, then add some HIIT and/or cardio training as well as some yoga/mobility/flexibility training 2-3 times per week for 30-60 minutes.
If you are currently only doing Yoga, then add some strength training and cardiovascular or HIIT training 2-3 times per week for 30-60 minutes.
If you currently only lift and do cardiovascular or lift and do H.I.I.T. then add yoga 2-3 times per week.
Understand where I am going with this?
Don’t have 30-60 minutes a day to do this type of training? Then do 15-30 minutes.
Don’t have time for a full yoga class? Then pick out 1-2 short yoga flows of 10-15 minutes that focus on your whole body and add them to the end of your other workout routines or do them just before bed to relax.
Don’t have time for HIIT or Cardio then add it for 10-15 minutes at the end of your weight training workout.
Get the idea?
The exact workout program doesn’t make a ton of difference if
If your workouts include all the above, then in a short time you will see results.

There is no perfect workout routine. The key for optimal health and performance is to make sure that you do some form of resistance/strength training, HIIT or cardio training and yoga/mobility/flexibility to keep your body looking and functioning optimally.
It doesn’t need t be fancy or complicated. Simple, challenging, and consistent is all that really matters.
If you’re not sure how to do any of these types of exercise, then hire a coach to help get you on the right track.
Yours in health.
Kevin
Isometric exercises are exercises that involve the maximal contraction of muscles without any movement in the surrounding joints. The constant tension on the muscles may help improve muscle endurance, strength, hypertrophy and support dynamic exercises. Isometrics can be done against an immovable object like a wall (absolute Isometrics) or by holing a weight in a fixed position and contracting the muscle without moving (yielding isometrics). There are other types of isometrics, but they are all subtypes of the above.
Isometric holds can be used to strengthen a weak point in a specific joint range of motion. They can also be useful for injuries when you cannot yet move a muscle through a full range of motion without pain. Isometrics can also be AWESOME if you have limited equipment or only bodyweight and need to make the workout more challenging and increase intensity.
For this post I will use an example of one type of yielding isometrics, Iso-Dynamic. There are a few different ways to do Iso-Dynamic Isometrics but for this workout we will do a version where we prefatigue a muscle for 30-45 seconds of an isometric exercise and then go immediately into 10-12 reps of full range repetitions. This version causes an intense burn and will have your muscles shaking and burning in no time flat.
Before you begin, realize that it is important to maximally contract the muscle (flex) while you are holding it in the isometric position to achieve optimal results. You are not simply trying to hold the weight in the position.

For the following program you will need a bench or Swiss ball, barbell and squat rack or set of dumbbells and a set of dumbbells. Use whatever Dumbbells you have available. If you have a few different pairs of different weights that’s ideal.
Day 1: Pre fatigue Isodynamic Chest and Back
A1) Isometric Dumbbell Bench Press. (Use a bench or Swiss ball) Hold upper arms parallel to floor position. 30-45 seconds the do 10-12 reps of regular dumbbell bench press. Rest 75 seconds
A2) Isometric Dumbbell Bent Over Row. Squeeze the shoulder blades together and hold the weights just below the abdominals for 30-45 seconds then do 10-12 reps regular dumbbell bent over rows. Rest 75 seconds
Repeat for 3 supersets sets and then move on to the secondary exercises. (B1, B2 etc.)
B1) Feet Elevated on Swiss Ball Push-ups. 3 sets of 12-15 reps 3010 tempo Rest 60 seconds
B2) Renegade Rows. 3 sets of 10-12 reps each arm. Rest 60 seconds.
Repeat for 3 supersets sets and then move on to the secondary exercises. (C1, C2 etc.)
C1) Incline Dumbbell Chest Fly on Swiss ball or Bench 3 sets of 12-15 reps 3-0-1-0 tempo 10 second’s rest.
C2) Single Dumbbell Pullover on Swiss Ball or Bench 3 sets of 12-15 reps 3-0-1-0 tempo 75 second’s rest
Repeat for 3 supersets.
Day 2: Pre fatigue Isodynamic-Legs
A1) Isometric Squat (Barbell, Dumbbells or Body Weight) hold thighs parallel to floor position. 30-45 seconds then do 10-12 reps of regular squats. Rest 90 seconds
A2) Isometric Hamstring Curl (Machine or Use a Swiss Ball) hold knees 90 Degrees 30-45 seconds then do 8-10 reps regular hamstring curls. Rest 90 seconds
Repeat for 3 supersets sets and then move on to the secondary exercises. (B1, B2 etc.)
B1) Dumbbell Split Squats 3 sets of 8-10 reps each leg. 3010 tempo Rest 75 seconds
B2) Single Leg Dumbbell Pendulum RDL 3 sets of 12-15 reps 3010 tempo Rest 75 seconds.
Repeat for 3 supersets sets and then move on to the secondary exercises. (C1, C2 etc.)
C1) Iso Single Leg Calf Raise 30-45 seconds then do 10-12 reps of regular single leg calf raise. Rest 60 seconds
C2) Iso Dynamic V-Sit 3 sets 30-45 seconds then 10-12 V-Ups. Rest 60 seconds
Repeat for 3 supersets sets.
Day 3: Pre fatigue Isodynamic-Shoulders and Arms
A1) Isometric Seated Dumbbell Military Press. (Sit on a bench, chair or Swiss ball) Hold upper arms parallel to floor position. 30-45 seconds the do 10-12 reps of regular military press. Rest 75 seconds
A2) Isometric Dumbbell Bicep Curl. Hold elbows 90 Degrees 30-45 seconds then do 10-12 reps regular bicep curls. Rest 75 seconds
Repeat for 3 supersets sets and then move on to the secondary exercises. (B1, B2 etc.)
B1) Isometric Dumbbell Lying Triceps Extension. Hold forearms parallel to floor position for 30-45 seconds then do 10-12 reps of regular lying dumbbell triceps extensions. Rest 75 seconds
B2) Isometric Side Dumbbell Lateral Raise. Hold arms parallel to floor position with palms facing down for 30-45 seconds then do 10-12 reps of regular side dumbbell lateral raise. Rest 75 seconds
Repeat for 3 supersets sets and then move on to the secondary exercises. (C1, C2 etc.)
C1) Standing Dumbbell Hammer Curls 3 sets of 10-12 reps 3-0-1-0 tempo 10 second’s rest.
C2) Triceps Push-ups 3 sets of 12-15 reps 3-0-1-0 tempo 10 second’s rest
C3) Bent Over Dumbbell Lateral Raise 3 sets of 12-15 reps 2-0-1-1 tempo 90 second’s rest.
Repeat for 3 supersets.
There you have it. A great workout using prefatigued Iso-Dynamic Isometrics. Give the workout a try for 5-6 weeks and let me know how it goes. You should notice some definite strides in strength and muscle gain. If this style of workout interests you please check out world renowned strength coach Cristian Thibaudeau’s article Isometrics: The most underrated training tool.
I will have another post next week using this same method for a total body boot camp style workout with video demonstrations so please check back. The workout is one of the exact workouts we did this week in my Online Virtua Boot Camps and it was a burning and shaking good time.
Lastly, I use a similar form of prefatigued iso-dynamic isometrics as part of the workouts in the Trinity 6-Week Home Training and Nutrition Transformation Program. I just lowered the price for this awesome program to only $29! If you train at home or are planning to then this a great program to take your results to a whole new level.
Yours in health.
Kevin

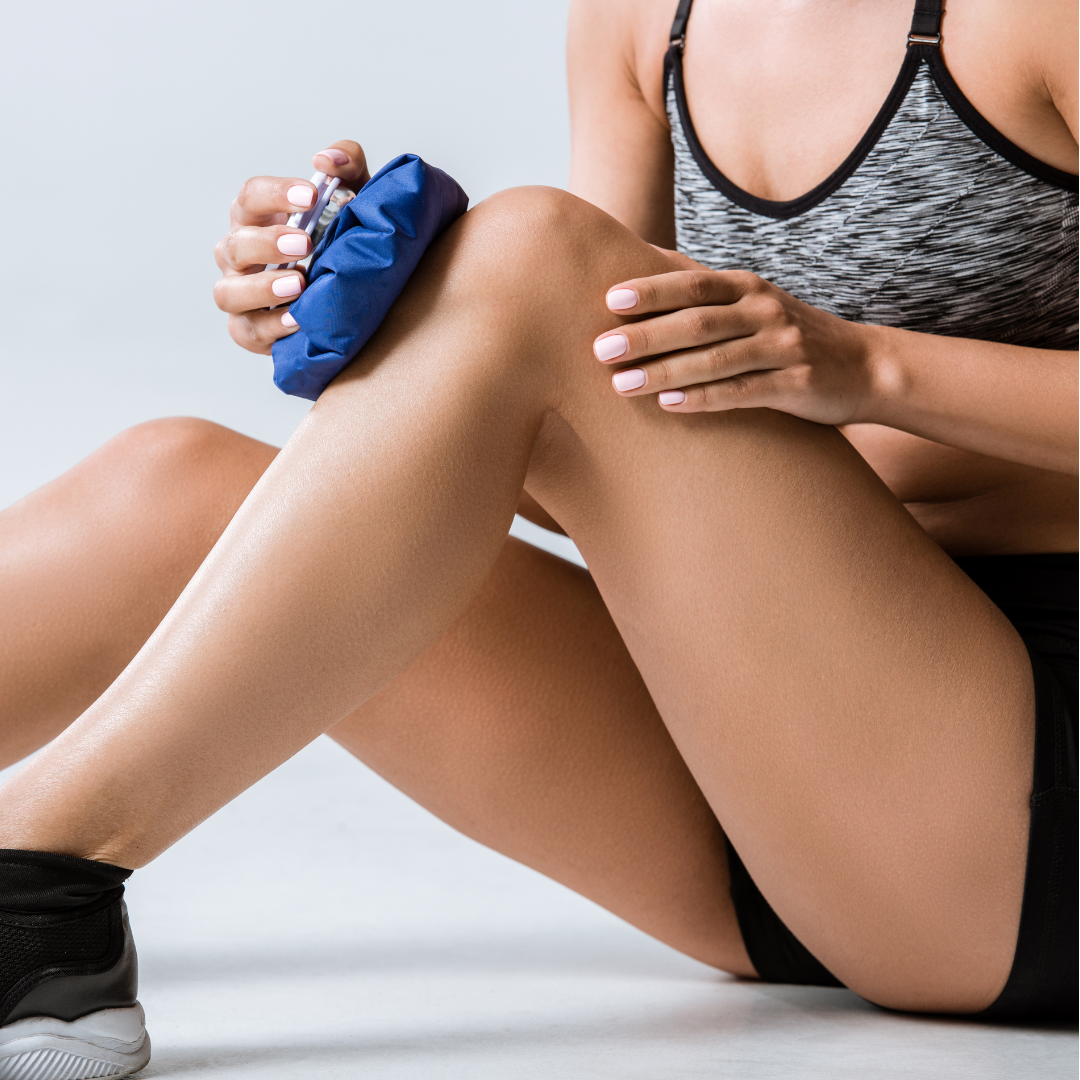
R.I.C.E. Rest, Ice, Compression, Elevation has long been the go-to treatment for acute injuries such as sprains, strains, and contusions (Bruises). Some recent studies have shown that using ice on an injury may not work or can even delay the healing process. So, should you use ice to treat an acute injury? That depends on how you use it and when you use it. Applying ice for a long period of time immediately after an injury can actually delay the healing process. The following post is my two cents about using ice to treat injuries.
The theory behind using ice on injuries is to reduce swelling and numb/decrease the pain. This sounds like a good thing doesn’t it? In theory, yes, but some recent studies have shown that the body needs swelling and pain to trigger the body’s natural response to heal the injured area. (Tell that to the person who just severely sprained their ankle, or blew out a knee writhing in agony.) From my experience and experimentation of various techniques in the trenches I have found the following technique to work the best for treating acute injuries. This technique can be used up to 72 hours post-injury.
I first learned the R.I.C.E. technique explained below from one of my favorite professors of all time Doug Davis at Bergen Community College 24 years ago.
To perform this technique, you will alternate periods of icing with periods of non-icing using compression and elevation. Many people simply leave ice on for an extended period. This I have found can impede the healing process and I personally do not advise that method. Instead, perform the following.
The theory of how this works is 4-fold.
To summarize, using Ice therapy in this way with compression and elevation triggers the body’s own mechanical responses causing a pumping effect from vasoconstriction and dilation to help “pump” out inflammatory chemicals and damaged tissue and to also “pump” in nutrients, important immune and healing cells to start the repair of the injured area.
In conclusion, if you do get injured it is important to first consult the proper health care practitioner to evaluate and diagnose the injury and recommend treatment. The information mentioned above is not to take the place of proper care by a physician. However, if you do decide to incorporate the use of Ice therapy then the method mentioned above has been highly effective from my experience.
If you give it a try please let me know how it works for you.
To your health,
Kevin
201-788-2666
http://www.trinityfit-well.com